Camping is a fantastic opportunity to get started with photography. You will have a wealth of subjects, events and scenery that you simply have to record for later enjoyment.
No matter what your experience level, we have got some tips and ideas in the this article to help you get started with your own camping photography.
We are going to take a look at:
- Why photography is such a great camping pass time
- Some of the options you have for taking photographs. Everything from your smartphone, right on up to the best cameras you can buy
- Tips on taking some great camping photographs – no matter what kit you use
Why Photography When Camping?
When camping you see some amazing countryside, wildlife, places of interest and activities. Taking photos means you can keep a visual record to look back on for years to come.
Many of you will want to post on Facebook or Instagram anyway so will be taking lots of pics on your phones or ipads etc. Others may wish to be a bit more serious about their photography. Being on vacation and in a different environment gives you the ideal situation to learn more about it and create some amazing pictures full of meaningful memories.
Preferably you want as little equipment as possible – both weight and space are often at a premium when camping. Take a look at our camping checklist for an idea of just how much gear your might be taking with you.
A phone camera, iPad or compact camera is ideal if you are not a serious photographer.
Here’s some hints and tips for novices and more experienced photographers alike. I hope you find something useful.
Top Camera Options for Camping
Smartphone cameras
Just about every SmartPhone includes cameras. The odds are, you already have a SmartPhone with a camera that is more than good enough to get you started. Phone cameras are ideal because:
- You are going to be carrying them anyway – no need for a separate camera
- Great point and shoot capability across a huge range of conditions
- Built in flash
- Shoot video
The list of features goes on and on.
Some camera phones are now as good for most of us as top end cameras too. Carry a portable charger and/or powerpack with you. We have reviewed a bunch of the best portable power packs in this earlier article.
Using your phone, images in your gallery can very easily be shared on social media.
Compact cameras
Compact cameras have improved so much recently. When you are ready to move on to being a little more creative with your photography, a compact camera is a good choice. With a compact camera you get the best of both worlds – high quality photography in fully auto (point and shoot), and the ability to switch to all manual settings to attain the effect your want.

If you are not confident shooting in manual, or any other modes, use the different built-in settings on your compact camera.
There are build in options for scenery, portraits etc. These will optimize the camera settings for the subject rather than just shooting on automatic.
Keep your camera set to automatic when not in use so that, if you see something you want to take a photo of very quickly, you don’t have to funmble around with settings possibly missing the moment. Just switch on and shoot. Any photo is better than no photo!
Digital Single Lens Reflex (DSLR) Camera
DSLR cameras are the sort of thing professional photographers use. They are not only for professionals though. As you get more experienced with your photography the chances are that you are going to want to progress to a DSLR.
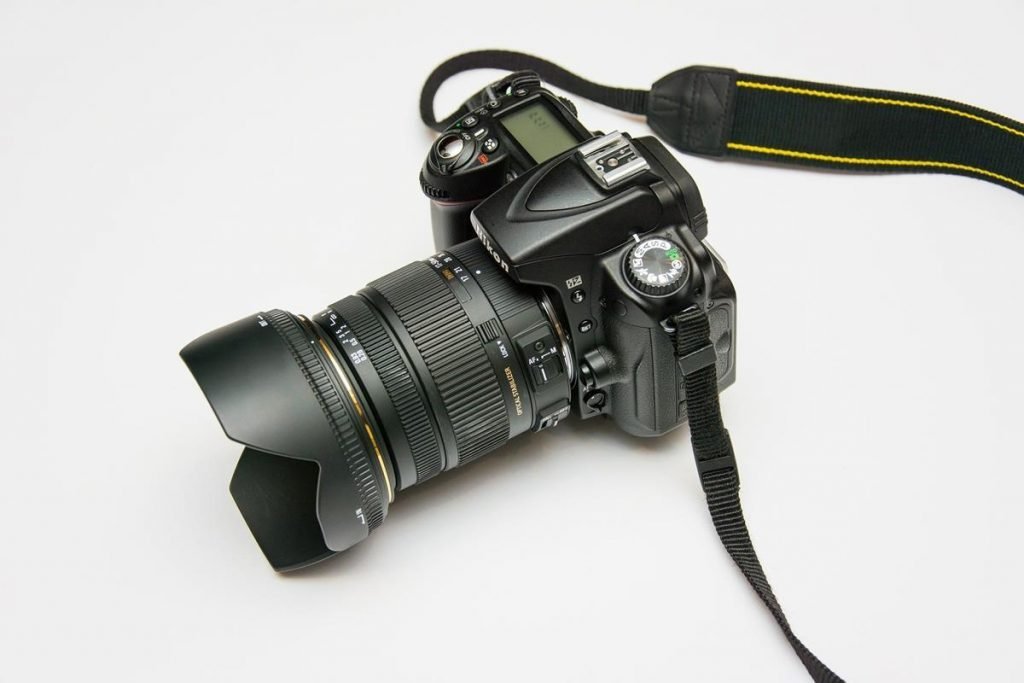
They offer excellent image quality, and almost infinite choice of settings, and lots of interchangeable lenses. I don’t take my DSLR camping. It is relatively big and heavy and more prone to getting damaged. The better the camera the heavier and bulkier in general.
With DSLR cameras, buying the camera is only the first step. Once you start looking at lenses (and most of us want at least one long lens) the price can rapidly escalate.
Mirrorless cameras
I guess we are now getting into the really technical bit of camera choice. We don’ have space here to go into how DSLR or Mirrorless cameras work. As the name suggests, Mirrorless cameras don’t have a mirror (you will not be surprised to know, DSLR cameras do).
Mirrorless cameras are effectively always on. Light from the lens is focussed on the sensor at the back. The image is permanently available on the camera screen.

They are gaining in popularity as they are much lighter and smaller than DSLRs but offer the same image quality.
On the downside, they also gobble up batteries as the screen is in constant use. I know people who have got through 5 batteries on a shoot using a mirrorless camera while DSLR users are still using the one they started with!
Short battery life is more evident in the cold where batteries lose their charge more quickly. Keep your batteries warm! Mirrorless camera lenses do not fit DSLRs and vice versa (at the moment). Moving from a DSLR could mean you need to replace all your lenses too.
Batteries
Take lots of spares with you particularly if access to power supplies is limited. Take a portable charger with you. Charge this and batteries at all opportunities. This will not be a problem if your tent has an electric hook-up, if the campsite has accessible power or you can use your vehicle’s cigar socket. The cold will drain batteries too. You can sometimes warm up a dead battery and get a bit more life out of it before it dies completely.
Memory
Long vacations require lots of memory! Take lots of spare memory cards with you. Choose fast ones so they save and download more quickly. Avoid anything more than 32 GB in case you card gets corrupted – the larger the memory the more images you may lose. Lots of smaller cards are safer. Download your images as soon as possible so you can check you have the shots you want; no corrupt files and they are essentially backed-up as long as you don’t over write the cards. Wait till you get home to do this.
The manual
How many have actually read the manual for your camera? You really should do. Take it with you when you’re on vacation, you may have time to read it. If not, at least download a version to your phone so that if you’re in the middle of nowhere and you’ve forgotten how to do something, you have a reference.
Lenses
When camping and trekking you want to minimise the amount of gear you are carrying. For cameras with interchangeable lenses I would take a 10-24mm or equivalent for landscapes and a 70-200mm or equivalent as a more general lens. Take a macro lens if you are into macro photography. Try not to change lenses in dusty environments. Choose more sheltered, grassy areas to lessen the chance of dust getting into your camera. Use a lens hood in sunny/lit situations to reduce lens flare. Put your hand over the lens if you don’t have a hood. Sometimes lens flare can add to the creativity of an image so it’s not always a bad thing. Take lens cloths with you too.
Tripods
Whether you are shooting landscapes, macro or portraits a tripod can be very useful. For landscape photography it is often essential. Any long exposure photography eg in poor light, to capture water movement or astrophotography a tripod is a must. When it’s cold and your hands get a bit numb and/or shaky you’ll find one useful too. For DSLRs and mirrorless cameras chose the lightest and most compact tripod you can afford. These are often made of carbon fibre and can be expensive. Tripods that you can hang your camera bag from give extra stability in the wind. Check the feet have both pointed and rubber feet for different environments. As with most things, you get what you pay for and a good quality lightweight tripod is a good investment.
Small tripods are available for compact and phone cameras. These are usually pocket sized so will not add to your load. They are useful too if you want to take group shots with you included in the image.
If you don’t have a tripod try and keep the camera as steady as you can. A blurred image is a disappointing and often useless one. Keep your feet hip-width apart, clamp your elbows to your sides, take a deep breath, breathe out and then take your shot.
Backpacks
The style is a matter of personal choice. Get one that is comfortable for you, not too small (photographers have a habit of buying more and more kit so need a bag big enough to accommodate all this vitally important stuff). A bag that is waterproof or has a waterproof cover is a bonus as is one with lots of pockets for spare batteries, SD cards, notebook, filters, lunch and a drink. A large plastic back is useful to have so that you have something to lie/kneel/sit on if you want to take any low-level photos in wet or muddy areas.
If you are planning to travel abroad or take photos in cities, it is often advisable to have a bag that doesn’t scream “expensive camera inside”. A camera bag that looks like a boring old rucksack is less likely to attract unwanted attention.
Other accessories
Depending on what you are photographing you may find polarising filters, ND filters and grad filters useful to get the shot you want especially for landscape photography.
Small reflectors can be useful too especially for macro work. Those bits of cardboard you get in smoked salmon packets are great – silver on one side, gold on the other and small enough to fit in your bag. Just wash it well before you use it.
A collapsible hide may be necessary if you want to capture some shy birds or animals.
Flash units may be useful for macro work, some portraits etc. Use a diffuser so you don’t get harsh shadows. Flash guns eat batteries so take plenty of spares!
Apps
You can now get several free apps to help you. There are light meters, ephemera to tell you when sunset/sunrise is and post-processing apps like Snapseed and Lightroom. A lot of apps are free and have very useful content but the paid-for versions give you more. Try the free versions first though, they may be all you really need. Other apps such as Pinterest are useful for inspiration.
Some cameras can now be controlled via a phone app and images can be uploaded to the cloud. Very useful!
General
Landscape photography
All those amazing landscapes shots you see in calendars, as PC wallpaper, prints etc have all been planned well in advance. Some brilliant photos were also shot by people who happened to be in the right place at the right time. Planning makes sure you are in the right place at the right time more often than not!
To get the best shots you need to know when sunrise, sunset, the golden hour (just after sunrise or just before sunset) and the blue hour (after sunset when the sky is deep blue). This where your ephemeris (see Apps) comes in useful. Not only is the light important, you need to find the best spot to take your photo from. Internet searches will give you ideas of where to go and what’s of interest in the location. If it’s popular, get there early as lots of other photographers may have the same idea as you! Stake your position!
Having people in your landscapes can give an idea of scale. An image of a huge rock may not look impressive if you have nothing to gauge it’s size by. People wearing red are a favourite of landscape photographers.
If the sky is dull and boring don’t include it in your photo. Or take your shot and change the sky in post-production later. Take photos and build up a collection of skies to use in your post-processing.
Reflections in water are better first thing in the morning as there is little wind to create ripples.
Don’t forget, landscapes can be taken in portrait mode too!
More modern cameras have GPS built in which is useful for recording exactly where your shot was taken. This can be useful later when you’ve forgotten exactly where you were.
Portraits and people
If it’s really sunny don’t have your subjects look towards the sun, they will all end up squinting. Have the sun behind or to one side and use fill-in flash if necessary. Fill-in flash is good to use even in bright sunlight, it gives a lovely catch light in the eyes. Try it and see! Always focus on the eyes too.
If you want to be included in the photo, set the camera up and use the timer to allow you to join the group.
Wildlife
Again, it’s important to plan ahead so you know where you are likely to find what you’re looking for. It’s no good looking for daffodils in late summer!
For animal photography, get to know your subject and what behaviours to expect when. Deer rutting or birds displaying prior to mating etc make more interesting pictures than animals doing nothing. If you are looking for wild animals walk into the wind so that your smell won’t be picked up and make the animals even more difficult to find. Observe but do not interact with wildlife. If you’re looking for bears, don’t forget to take some bear spray!!!
For insects, plants and fungi a reflector and use of flash often gives you a much better image.
It is often good to show the habitat in nature photography but try not to make the background too cluttered or distracting. Focus on the eyes!
If you are taking photos of something quite rare, please switch off your GPS if you have it to try and protect the species and its habitat. Don’t be the one responsible for hordes of photographers trampling the last remaining orchid species on the planet.
Do not damage the habitat for any reason. Leave the area as you found it or better. Respect nature.
Composition
If you can, take your time to compose your image. Look for anything distracting especially at the edges of the image. Reposition yourself to get a better shot if necessary. Take different shots – digital images cost nothing to create. Take an image with more of the surrounding, you can always crop it later. Then take close-up shots of the subject and try different angles. Always focus for the subject – that’s what you want the viewer to look at.
Learn about the “Rule of Thirds” and use it. It works. So does the use of leading lines and diagonals. These can often be tweaked in post-production.
Take lots of shots at different angles, from the top looking down, looking up, close-ups of parts. For anything with eyes though, take the photo at the subject’s eye level – much better and more interesting.
Climate and weather
Allow your camera and lenses to adjust to the climate you are taking photos in. For instance, going from the cold to the warm may cause condensation which you need to get rid of first.
Make sure your equipment is weather-proof. Some good cameras,lenses and phones are, others need to be kept dry. Have a waterproof cover for your camera bag.
The cold is the enemy of batteries. They lose charge very quickly, so keep them warm. A good pair of photography (or shooting) gloves which allow your fingers to manipulate your camera dials without exposing your hands are brilliant in the cold.
Try to avoid bright sunshine especially at midday as you get very harsh shadows. If it is sunny, take your shots in the morning or late afternoon to get nice long, interesting shadows. Dull days are best for photography as shadows are much more subtle.
If it sunny, look for pattern shots and turn them into monochrome images. Use a lens hood if you want to avoid flares.
Autumn and winter are obvious favourite times of the year for landscapes – all those lovely fall colours or the crisp, white snow.
Get creative
On vacation you may have time to learn new techniques and try something a bit different with surprising results.
Try using a shallow depth of field to get a blurry background. Have a go at long exposures especially for water to get those nice, dreamy shots. Multiple exposures, if your camera allows, can produce some interesting shots as can intentional camera movement. This works well when photographing trees. Experiment!
When you get home your photos can be made into a digital book which you can get printed. Or you can make a visual diary or a collage from printed photos so take a mixture of photos to encompass as much as you can about the place you’re visiting. Variety adds more interest.
Security
After a day’s shoot, don’t leave your camera equipment in your tent or on show in your vehicle. Stash it away out of sight and under lock and key. Not many insurance companies will pay out if someone stole your gear from a tent!
Don’t forget – the best camera is the one you have with you. Have one with you at all times!
Have fun and enjoy your photography!